Home Server
Overview
I first set my mind on building my own home server when I realised the amount of personal, private, and often sensitive data that I allow to be held in the hands of the big data industry. I decided that I ought to be the person primarily in charge of storing my own data and managing it in the ways in which I see fit rather than leaving this up to companies whose main goal is to profit from my personal information.
My goals with this project were:
- To gain an improved sense of control and ownership over my own data
- To reduce the costs I spend on online services I could run on my own
- To learn more about networking and web servers
The services I intended to have available on my server were:
- File storage
- An image gallery
- A password manager
- A music and media streaming platform
- A DNS server with DNS blocking capabilities
- Backups of all my data
Hardware
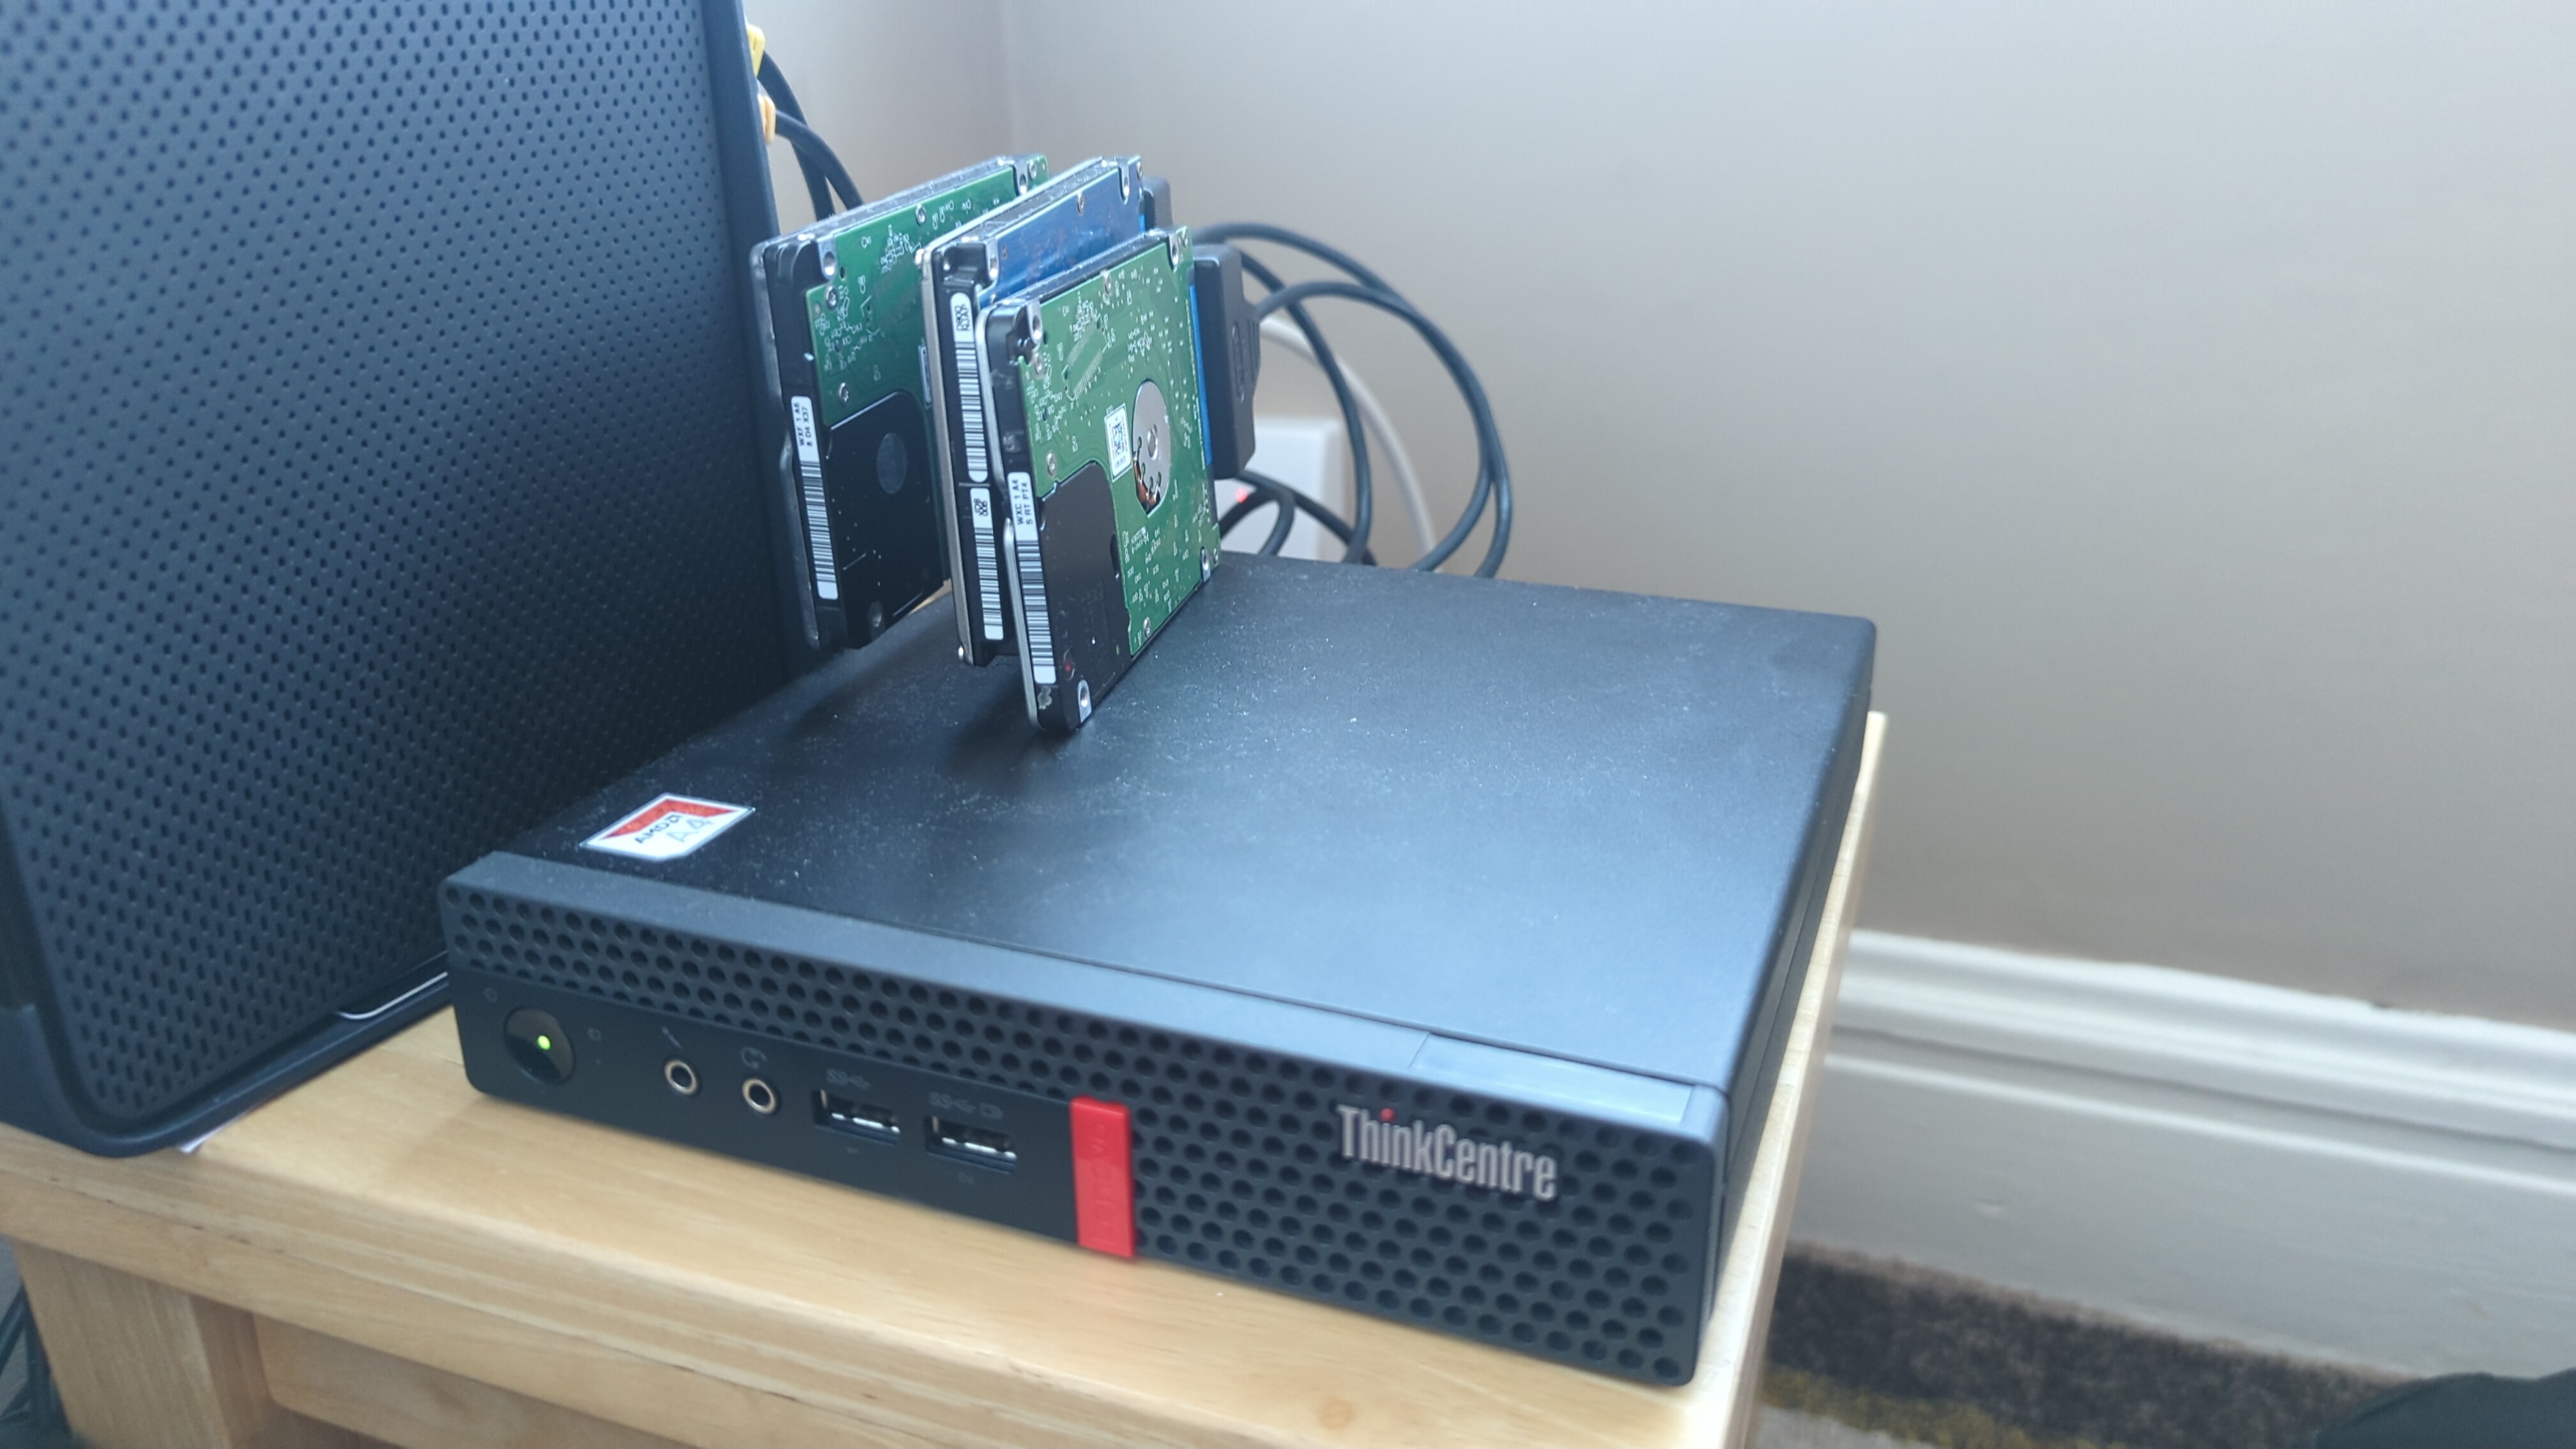
For this project, I used a Lenovo ThinkCentre M625q mini PC which I picked up second hand on the cheap. It’s not an especially fast or powerful machine, but this also means that it doesn’t use a lot of electricity, which is a big consideration for something that’s going to be powered on 24/7. On top of this, Lenovo’s Think line of products are famously durable and reliable, being rigorously tested to meet even military standards, so I believe this to be an appropriate machine for my use case.
I upgraded the RAM from the original 4GB to the maximum of 16GB, which should help to avoid any bottlenecks. I also attached two 1TB hard drives via USB adaptors. using one for data and the other for media. There is an additional 500GB hard drive attached for backups, this will need to be upgraded once the amount of data gets close to filling it.
Software
Operating system and framework
The operating system I chose to use was Arch Linux, a minimal operating system which I am most familiar with. Thanks to its minimal nature, I know that only software I have specifically installed and enabled will be running, which means that resources aren’t being wasted on things I don’t need, and that I am personally responsible for managing the system and keeping it secure.
For the majority of the services I run from the server, I use the containerisation software, Docker. Containerisation means that programs are running in a sort of sandbox, disconnected from the rest of the server, so if a service does happen to get compromised, the entire machine will not be left completely prone. Containers also have the advantage of being very portable between systems, traditionally requiring a computer to have the same processor architecture as the one the container’s setup was built on, however some modern containers work between processor archetectures.
File storage
For external file storage, I use a simple setup using the SMB protocol. Essentially I have a folder on the server which I can get any other computer to access and use as if it were on its own disk as long as both are on the same network. This means that I don’t need to be paying for any cloud storage, I have much more than I need for now.
DNS server – PiHole
To gain more control over my personal internet experience, I use what’s called a DNS hole in the form of an application called PiHole. A DNS server is responsible for telling a computer where to find resources by taking in a web address, which is essentially meaningless without DNS, and returning an IP address, which the computer can then use to find the requested resource. A DNS hole works by having a list of URLs or domains to block, and simply sends any traffic directed at these domains to an empty address. I use this to block advertising, invasive tracking, and malicious sites. It also has the added benefit of making websites load slightly faster since there is less information being downloaded.
Password manager – Vaultwarden
Password security is a major concern. Before this project I relied on my browser to store my passwords, which meant that all of my passwords were out there on a database on a server which I have no control over. I opted to use Vaultwarden, an open source backend for Bitwarden, which is a business class password manager. After porting my passwords over from their previous home and removing them from there, I took the opportunity to clean up, deleting accounts that are no longer in use which leaves my data less likely to be leaked in a breach.
Image gallery – Immich
Previously, I used Google photos for image storing and paid a small monthly fee. The service I picked to cover this part of my digital life is Immich, which is an open source project intended to be a direct replacement for Google photos. It even comes with a mobile app which lets me sync any new photos I might take from there.
Media streaming – Jellyfin
The music streaming industry is unfair in my opinion. Instead of paying for physical media from the artists one loves, the majority of people have moved to paying a monthly fee to a third party who pass on only a small amount to the artists. I set up Jellyfin, an open source streaming platform in order for me to be able to play music that I own in physical media across all of my digital devices.
Security
Given that in this project, I have put myself completely in charge of keeping my data protected, I took several steps to keep my data as well-protected as I could. Some of those steps are as follows:
- I applied encryption to all of the hard drives I connected to the server. These drives are unlocked by a keyfile in the machine’s internal storage at boot. This means that if the server happens to be stolen, the data will not be easily retrieved. The best way to do so would be to remove the internal SSD and plug it into another device to look for the keyfile, but this seems beyond the scope of a regular burglar, so this shouldn’t become an issue.
- I set up a firewall to only allow traffic that is relevant is permitted. I also used a program called fail2ban to harden against SSH brute force attempts.
- I gained SSL certifications for a custom domain which enabled me to use the https protocol for all of my services. This means that any communications over the network are encrypted. On top of this I do not have my server connected directly to the internet, instead, I use a raspberry pi as a VPN server to gain access to my home network if I’m on the go or at an external premises. The IP addresses assigned to my domain point towards local addresses, so they won’t go anywhere if somebody else tries to gain access that way.
- I made use of containerisation to have any services which will communicate with other machines be in a separate environment from the rest of the server, meaning that a breach to one of my services would not leave the entire machine fully vulnerable.
- I keep regular weekly backups using an application called rsync. I back up OS files, container data, and all of the data which I use the server to hold on to. I also make less frequent backups to an external drive. I am confident that in the event of disaster, data loss will be minimal, and I will be able to make a full recovery.
Challenges faced
Given that I hadn’t set up a server like this before there were some unexpected challenges along with new concepts I had to learn. To name a few:
- Setting up the NGINX web server I used for reverse proxy to access my services and getting SSL certificates to encrypt my connections were two of the things I spent a good chunk of my time on. I wasn’t sure how HTTPS worked before I started, and the format of the web server configuration seemed alien at first.
- Containers were an entirely new idea to me, I’d never used Docker before, but now its my go-to method of installing applications on systems that don’t have official support for them.
- I’d originally been using NoIp as my DNS handler for my domain, but I found this service restrictive for getting fine grained control over my domains, I migrated to CloudFlare which I find much more effective, and even went on to use them to host this website.
- I was using SSDs that I had bought cheaply on the internet at first and these drives turned out to be counterfeit. I had a lot of confusion and frustration when things stopped working as intended due to the fact that they had a much lower capacity than what was written both on them and in the firmware. This caused several programs to simply stop working when the drives became completely full. This also means that I might have been vulnerable to the possibility malicious code being inserted onto them, however it is likely that the seller was just trying to make a quick profit, and most likely any malicious content would be targeted at Windows systems. Safe to say that I have learned my lesson about using reputable dealers.
Conclusion
Overall, I would say that this project was very successful. I achieved my goals by bringing my data into my own machine and under my control, I stopped having to pay for some services which I now run on my own, and I learned about both networking protocols and containerisation.
I was able to find a way to do everything I previously used external cloud based services for on a machine which I manage, and found a solution for every problem I set out to tackle.
On top of the skills I’ve learned and the value I’ve gained from this project, I also have a launchpad for future projects with this server. For example, I plan on writing my own backup manager to better control and track my backups.